Getting Started with Heylock API
This guide walks you through creating an agent, generating a secret key, and making your first API request.
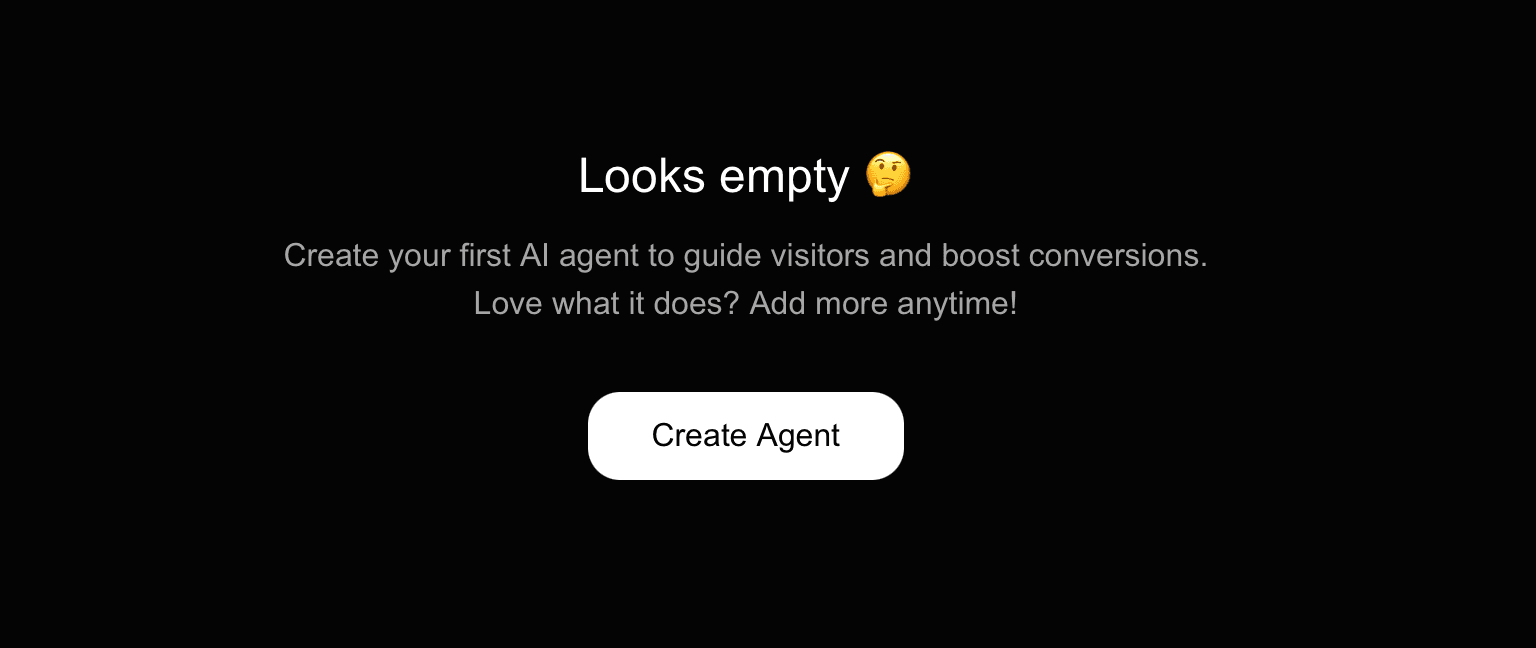
Step 1: Create an Agent
To interact with Heylock, you need an agent. Create one in your dashboard. Wait a few minutes for it to be indexed.

Step 2: Generate a Secret Key
Once your agent is indexed, generate a secret key from the dashboard. Click Click to generate at the bottom of the page.

Store the key securely. You won’t be able to view it again. Regenerating a key invalidates the previous one.
Step 3: Make a Request
Authentication
Include the secret key in the Authorization header of your request. Otherwise you will not be able to access the API.
1const response = await fetch('https://heylock.dev/api/v1/message', {
2  method: 'POST',
3  headers: {
4    'Authorization': 'AGENT_KEY',
5    'Content-Type': 'application/json',
6  },
7  body: JSON.stringify({
8    content: 'Hello, world!'
9  })
10});
Request Body
To send a message, include the content field in the request body.
1const response = await fetch('https://heylock.dev/api/v1/message', {
2  method: 'POST',
3  headers: {
4    'Authorization': 'AGENT_KEY',
5    'Content-Type': 'application/json',
6  },
7  body: JSON.stringify({
8    content: 'Hello, world!'
9  })
10});
You can include additional fields. Learn more
Response
Parse the response to access the agent’s reply. Example:
1const response = await fetch('https://heylock.dev/api/v1/message', {
2  method: 'POST',
3  headers: {
4    'Authorization': 'AGENT_KEY',
5    'Content-Type': 'application/json',
6  },
7  body: JSON.stringify({
8    content: 'Hello, world!'
9  })
10});
11
12const data = await response.json();
13
14console.log(data);
The response contains a message field with the agent’s reply.
1{
2  message: "Hello. It's nice to meet you. Is there something I can help you with or would you like to chat?"
3}